|
Tutorial 1: Step 9 Generate Report and Export Image
Sometimes you may wish to have something printed on paper or saved in a file to show your colleagues or retain for your records.
Create an Experiment Report
1. If the partitional clustering experiment (the one produced in step 6 of this tutorial) in the Experiments navigator is not already highlighted, click it.
2. Select Generate Report from the File menu. The Save As dialog is displayed.
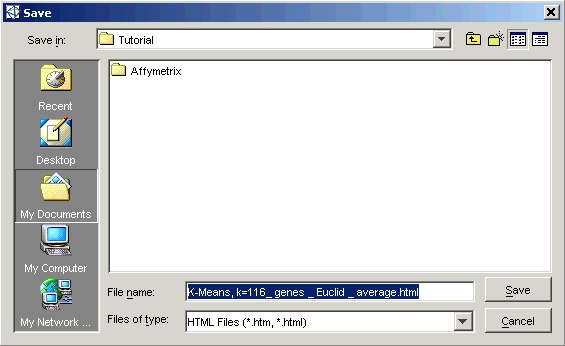
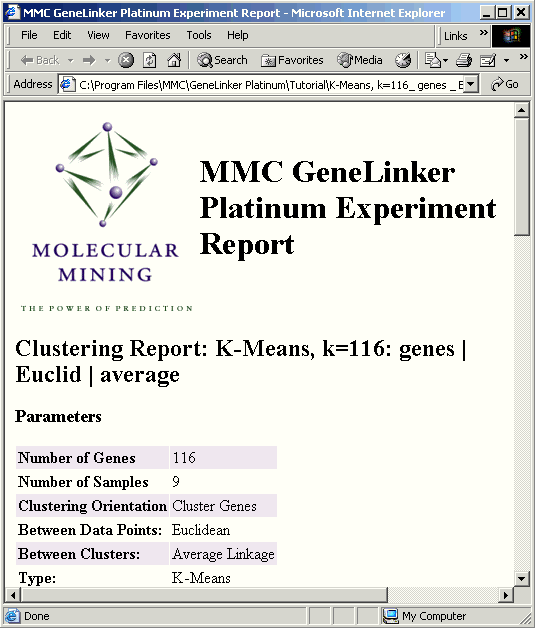
3. Provide information about where to store the file and under what name (or accept the provided defaults), and click Save. An experiment report is produced that describes the clustering parameters used and lists all the clustered items (genes) by their cluster membership, along with some summary statistics on the clusters.
Reports are generated in HTML format. Once the report has been generated (and saved), GeneLinkerô starts up your default web browser (specified in your User Preferences) and displays the report.
Create a Workflow Report
1. Click the hierarchical clustering experiment (from step 4) in the Experiments navigator.
2. Select Generate Workflow Report from the File menu. The Save As dialog is displayed.
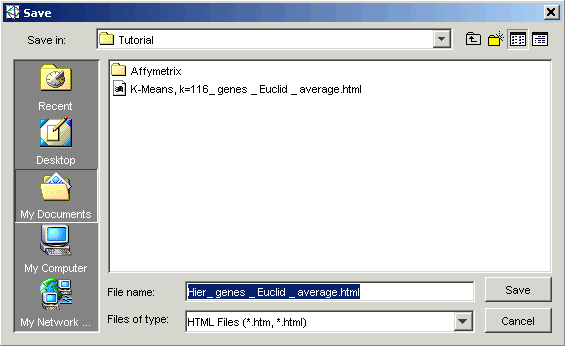
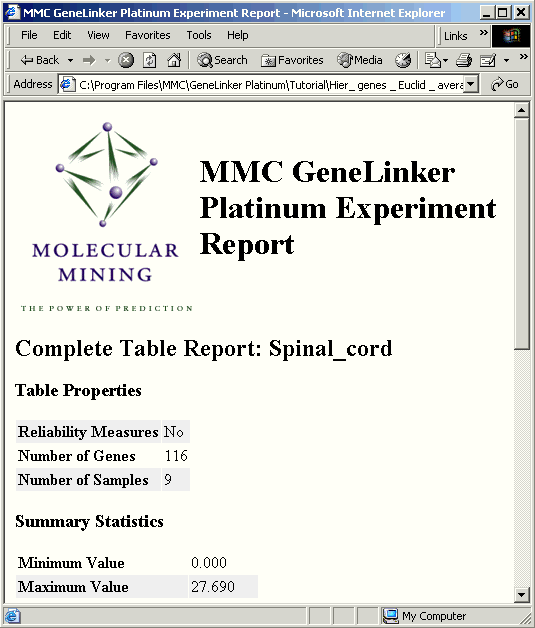
3. Again, provide information about where to store the file and under what name (or accept the provided defaults) and click Save. A workflow report is generated. It contains the same information as the experiment report, and also describes the entire 'descent' of the data, from the raw dataset down to the node being reported on. For example, a workflow report on this clustering experiment also summarizes the originating dataset and the normalization parameters used.
Workflow reports are generated in HTML format. Once the report has been generated (and saved), GeneLinkerô starts up your default web browser (specified in your User Preferences) and displays the report.
Export an Image
1. Click on a plot to make it the active window.
2. Select Export Image from the File menu or right-click on the plot and select Export Image from the shortcut menu. The Save dialog is displayed.
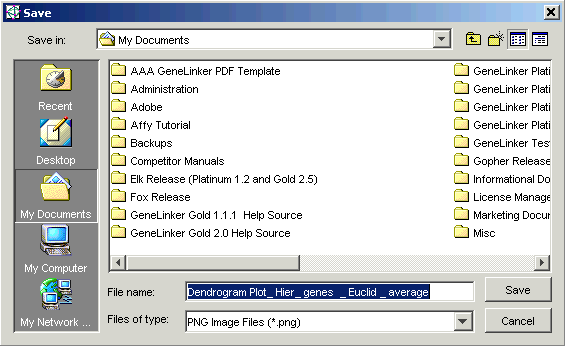
3. Enter a File name.
4. Select a file format (PNG, SVG, or PDF) from the Files of type drop-down list.
5. Click Save. The image is saved to a file of the specified type in the specified location. A message is displayed in the status bar when the image file save operation is complete.

