|
Tutorial 8: Step 4 Import a Variable
1. If the Chip1 dataset in the Experiments navigator is not already highlighted, click it.
2. Select Import from the File menu and Variable from the sub menu. The Import Variables dialog is displayed.
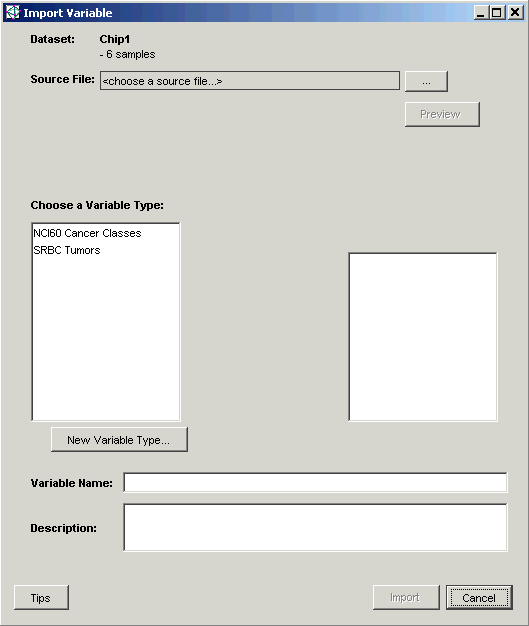
The Dataset is set to Chip1. The number of samples it contains is listed below it.
3. Click the Source File ... button. The Open dialog is displayed.
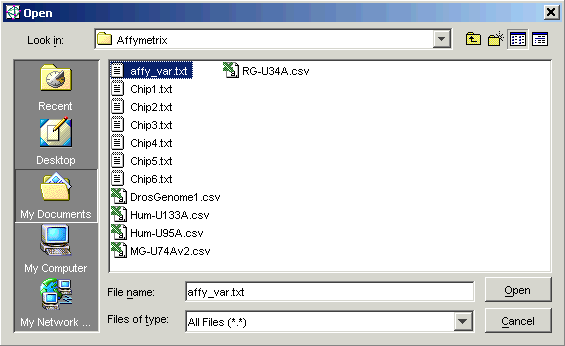
4. Double-click the Affymetrix folder. The files in the Affymetrix folder are displayed.
5. Click the file affy_var.txt. The file is highlighted.
6. Click Open.
The Source File name is displayed with its number of observations and classes listed below.
The default Variable Name and Description are displayed.
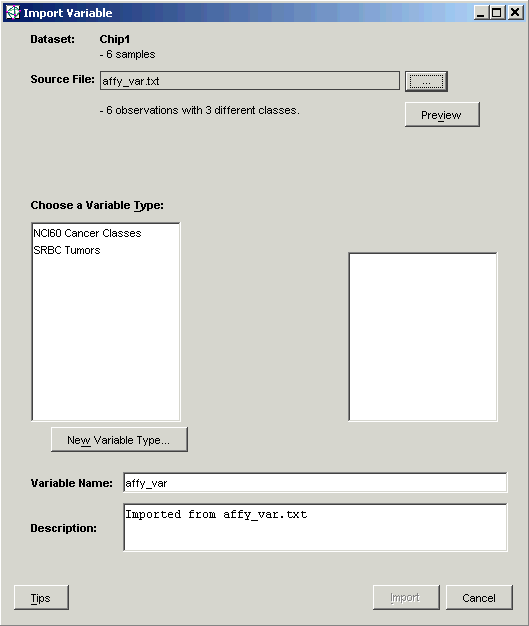
7. The Preview allows you to view which sample belongs to which class and the total number of entries for each class. Click Preview. When you are finished examining the contents of the Preview, click Close to close it.
8. Enter Affy Variable in the Variable Name text box.
9. Optionally, enter a new description for the variable in the Description text box.
10. Click the New Variable Type button. The Create Variable Type dialog is displayed.
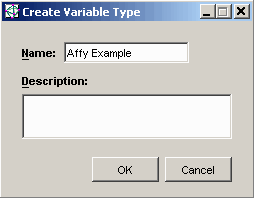
11. Enter Affy Example for the Name of the new variable type, and optionally a Description.
12. Click OK. The new variable type is displayed in the Choose a Variable Type list on the Import Variables dialog.
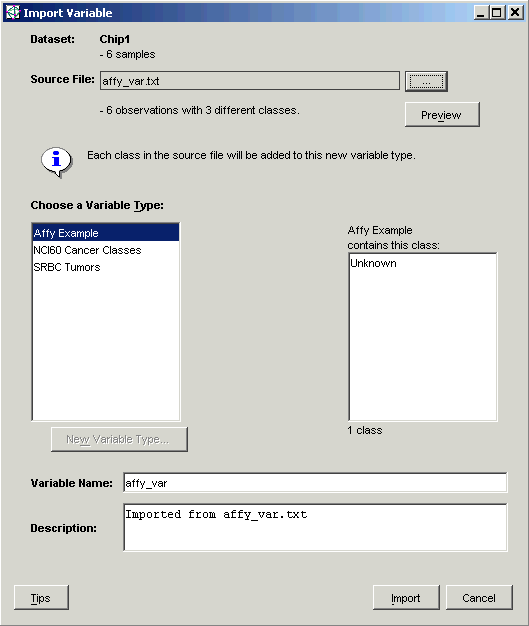
13. Click Import.
The variable data is imported into the database, and in the Experiments
navigator, the Chip1 dataset icon is marked with the variable tag ![]() .
.

